Tuesday, September 12, 2017

Southern Living Custom Builder Showcase Home

I recently had the opportunity to tour a Southern Living Custom Builder showcase home in Myrtle Beach, SC.  The home was constructed by Classic homebuilders of Myrtle Beach and it did not disappoint! You can check out more at the builder’s website Classic Home Building.  I only have pictures from my Iphone, but I thought they were worth sharing. It was truly a beautiful home in a lovely setting.

SL house exterior 1

Photo above from ClassicHomeBuilding.com.

This is The River Run, which is Southern Living House Plan #578, designed by John Tee. It has just under 2500 square feet of heated space.

SL showcase exterior 2

SL showcase exterior 3

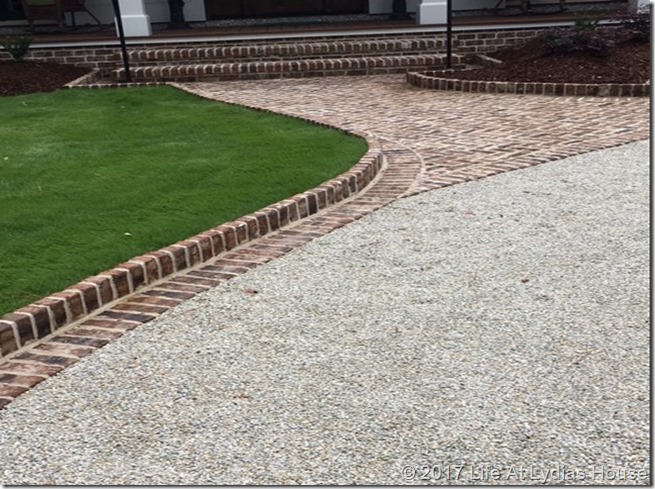
The landscape and hardscape were stunning! I took a couple of close-up photos of the brickwork and pea gravel.
driveway details

driveway brickwork

The brickwork shown above is where the driveway joins the street.

SL dining 1

As you enter the home, the dining room is to the right.
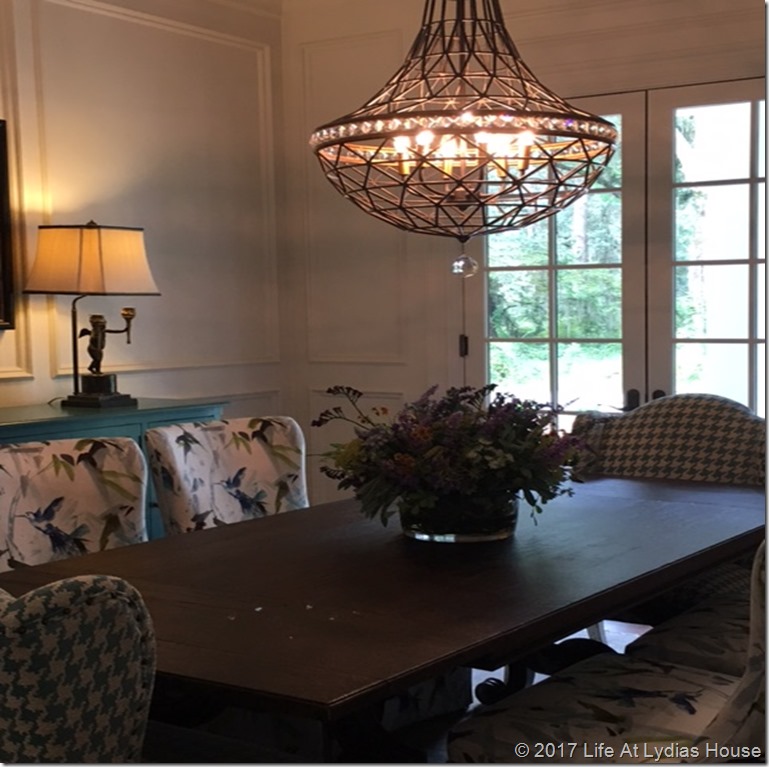
SL dining 2French doors lead from the dining room to the front porch.

SL dining 3The great room is directly ahead as you enter the home and the spacious kitchen is to the right of the great room.

SL greatroom 2

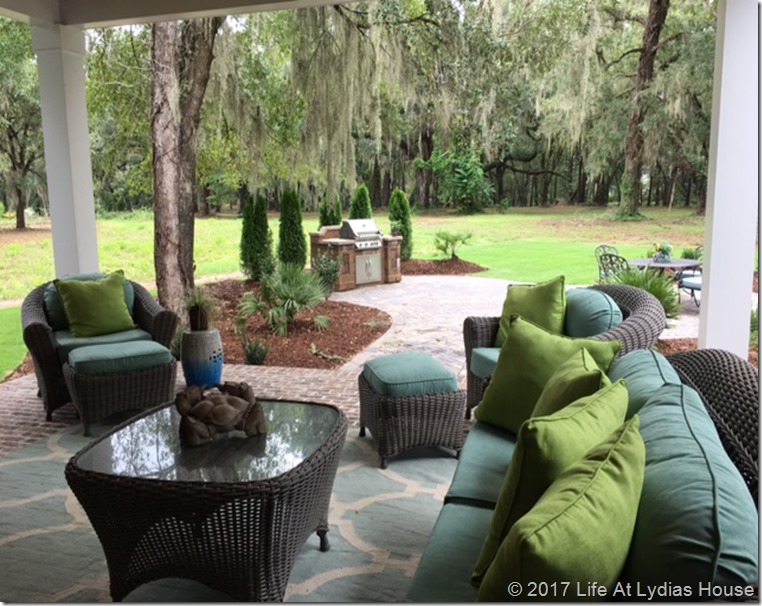
The covered patio is right outside the great room.

SL kitchen

SL great room 1

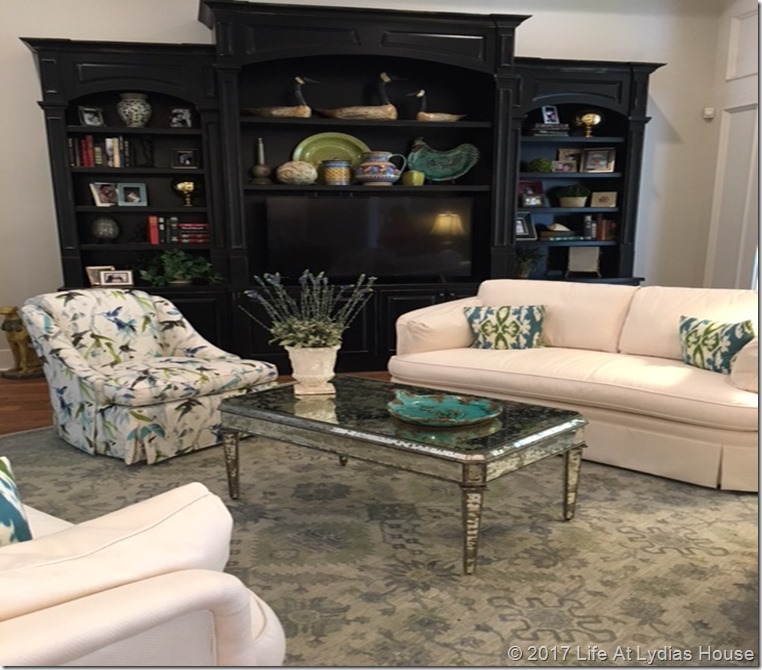
The interior designer used the same fabric on the club chairs in the great room and on the side chairs in the dining room.

SL great room 3In the photo above, you can see the stairway to the bonus bedroom, the rear garage entry area where the mudroom/laundry room is, and also the hallway to the master bedroom and bathroom.

SL great room 4

SL master bedroom 1

The designer used pendant lights instead of lamps at each side of the bed.

SL masterbedroom 2

SL master bath 1

SL master bath 2

SL master bath 3

SL master bath 4

SL master bath 5

SL bedroom 4

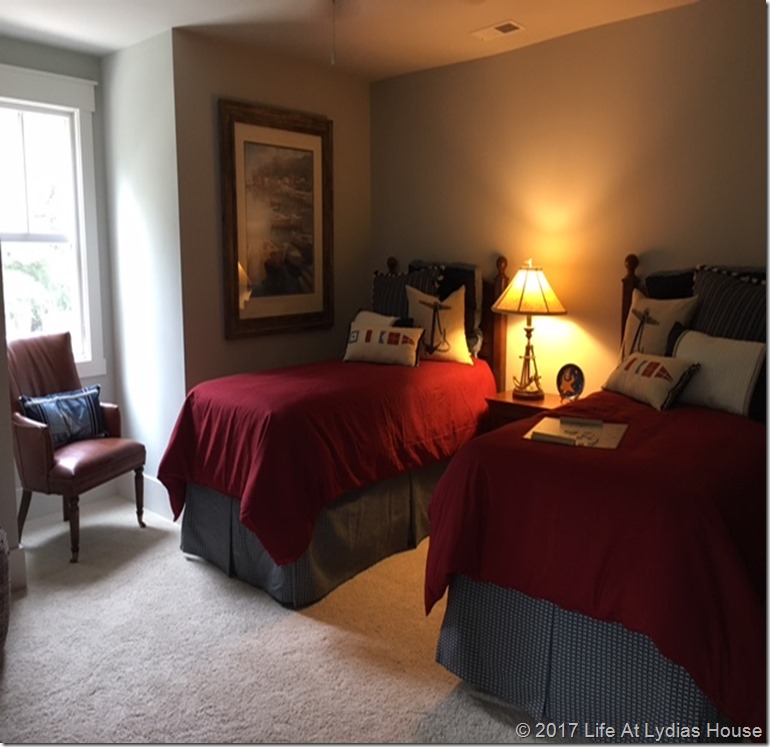
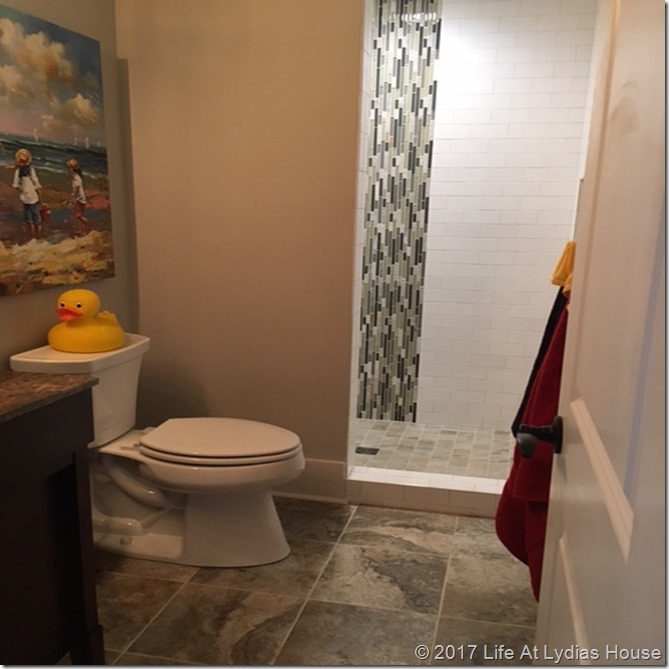
This spacious kids’ room and bath were upstairs.
SL kids bath

Back down the stairs we see the laundry/mudroom.
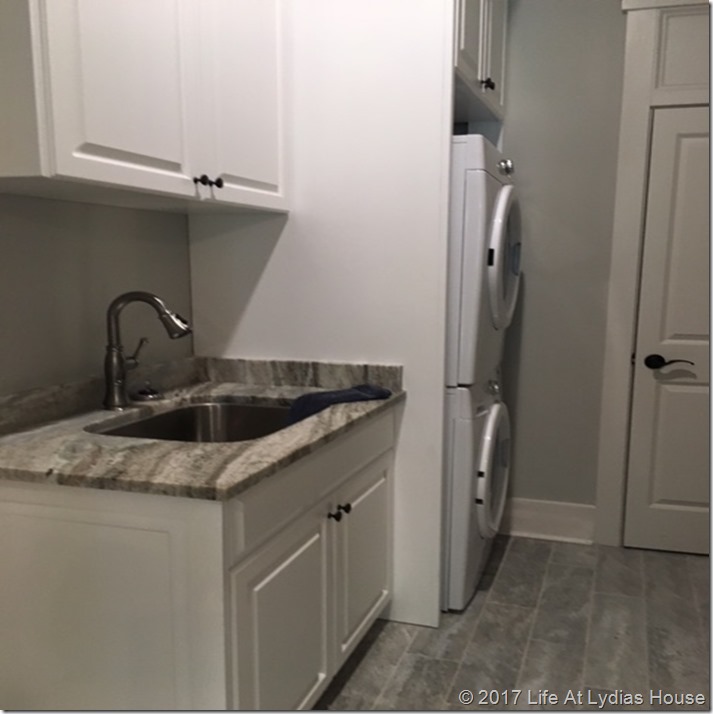
SL laundry

SL mudroom

This drop zone was only about 6 to 8 inches deep and was a great use of space.

Now let’s head back to the other side of the house where there are 2 bedrooms and a bathroom.
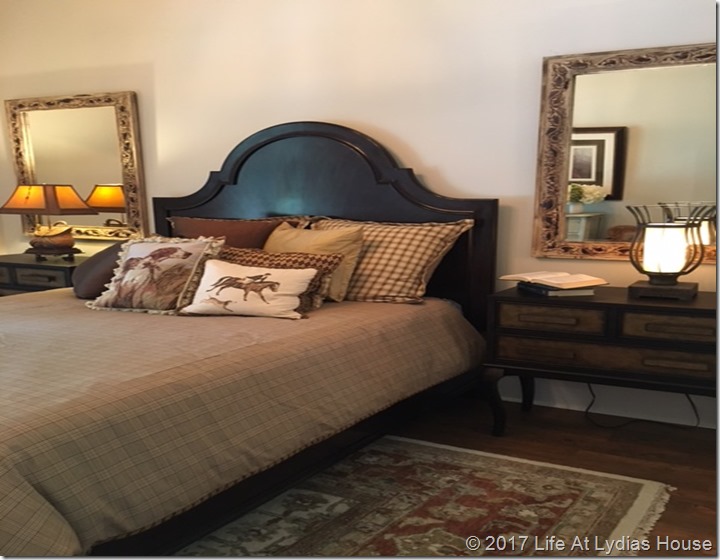
SL bedroom 2 A

SL bedroom 2 B

This bedroom also has French doors that open onto the front porch just like the dining room.

SL hall bath

The hall bath had a very glamorous look.

SL bedroom 3 study

One bedroom was staged as a study.

SL covered patio

The covered patio and backyard were equally wonderful.
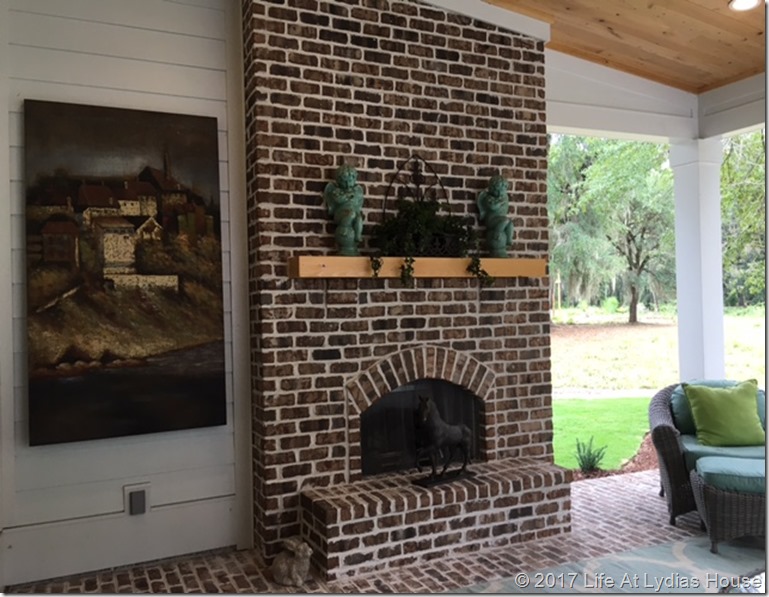
SL covered patio 2

SL back yard

I hope that you enjoyed the tour as much as I did. The house is no longer open for tours now but it will open again for holiday tours from November 3 –19. If you are in the Myrtle Beach or Litchfield area you may want to check it out. There is a small admission fee ($10) which goes to charity.

I hope that all of you are safe and have fared well from the recent storms.

a signature

Just a little side note……. I still have friends ask “Have you posted any projects lately?” If you want to see all of my posts, be sure to enter your email address at the top of the page and you will be notified each time I post.(NO name calling but that’s you AW!!) I don’t even see your email address and promise they will never be sold!

I’m linking to Wow Us Wednesday at Savvy Southern Style.  Click the link for lots of inspiration.

Tuesday, July 23, 2013

Black Beauty in the Bunk Room

Whoever said that every room needs a touch of black was absolutely correct. I don’t know anything that ups the style factor in any space as quickly as a touch of black. Such was the case with our bunk room at our summer cottage.

bunk cabinet 1

It is hard to get a good photo of this piece because of the size of the room and its location. It was hard to get a shot without the bedposts showing. This piece sits at the foot of the two sets of bunk beds.

IMG_0547

You can read my previous post on the bunk room by clicking here.

bunk cabinet 3

I don’t have a “before” picture of this piece since I started it 2 or 3 years ago but it was just ugly brown fake finish wood when I found it at an antique place. I had plans to use it for another project but decided to go another direction so it ended up here.  Actually, my assistant and I quickly gave it a couple of coats of black satin paint and it has been sitting behind a door with no hardware and dirty glass waiting for me to finish up!  Back in February I ran across the turquoise wrapping paper at TJMaxx while traveling in Philadelphia but I didn’t purchase it because I knew it would be smashed to smitherines by the time I got home. However, after hitting several stores in my area I was able to find it. I knew that was just what this cabinet needed.

bunk cabinet 4

Because I didn’t want to damage the paint on the inside, I had planned to cut foam core and glue the paper to it and just stand the foam core boards in place. However, I discovered that the cost was $21 for the foam core. So, I purchased a piece of very thin luan plywood and cut it to size. I think it cost $7 or $8! Then I used a small household stapler to staple the paper to the plywood. I folded the paper over the edges like wrapping a present and stapled from the back so that the staples don’t show. Then the boards just sit in place.

bunk cabinet detail

I love the faux bamboo details and the solid brass hardware cleaned up very nicely.  The storage baskets are currently holding travel size board games.

lighted bunk cabinet

As a bonus, it even has a light in it!

bunk cabinet 2

I should have finished this project a long time ago but I sure am glad that it is finally checked off my list!

I hope that you are having a wonderful summer!

a signature

I’ll be linking to several parties. Please click the link and see all of the wonderful inspiration!

Wow Us Wednesday at Savvy Southern Style

HomeWork Wednesday at Worthing Court

Grace at Home at Imparting Grace

Monday, June 17, 2013

Adding Some Wall Art to the Guest Room

I am still adding a few touches to our guest room. If you missed my previous posts on this room you can see them by clicking here, here, and here. I had decided that I would try to find a vintage school map to hang on the large blank wall. I was lucky enough to find exactly what I had in mind on my last trip to Scott’s in Atlanta a couple of weeks ago!

room w map

The map is almost 4 feet wide by about 3 feet tall. I just happened to have a piece of 1/4 inch plywood almost this exact size which just needed a little trim. I then attached molding around the edge and gave it a coat of coral paint.

frame for map

There is a map on both sides so I just used push pins to mount the map on the plywood.

map frame and table

The map is of the Pacific Area of World War II. Let’s take a closer look.

close up of map

This map has special meaning to me because my grandfather served in the Pacific fleet in World War II. Actually, his Navy pea coat that he wore is hanging in the closet in this room! Occasionally my kids or I take the coat out and wear it since it is still in great condition. I’m sure that my Grandpa could tell me lots of stories looking at this map!

I hope that you are having a great summer!

a signature

I’ll be linking to Wow Us Wednesday at Savvy Southern Style and to Be Inspired Friday at Common Ground.

Tuesday, November 27, 2012

DIY Sunburst Mirror

In my last post, I shared about my recent update to our guestroom. Previously, I had a collection of vintage hand painted plates hanging above the headboards but decided that I needed something fresh for the re-do.

mirror 1

Since I was in a hurry and had a goal of finishing the room before Thanksgiving, I decided to make my own sunburst mirrors to go above the headboards.

charger from Pier 1

I purchased a wooden charger at Pier 1 to use for the base.I believe that the cost for each one was $14.99. I did put a quick coat of fresh white paint on it before starting since it had a yellowish tint against my freshly painted walls.

bird clock 1

Next, I trekked down to my local Dollar General store and purchased these cute bird clocks with  glass fronts for $4 each!!! It’s a really cute clock but I actually just needed the glass.

bird clock 2

Next, I flipped it over and removed the screws from around the outside edge. The front popped right off and the glass came right out. Then I used my Looking Glass spray paint and a light spray of water to paint the glass. Next, I glued the mirror back to the original gold frame and then glued the gold frame to the white charger. I did not use the clock mechanism.

diy sunburst 1

The spots on the glass were intentional since I was going for a vintage look.

diy sunburst 6 

I considered going around the carved edges with a little Rub N Buff in gold or silver but decided to leave well enough alone.

diy sunburst 4

Pretty results for about $20 each!

twin beds

I have finally finished cleaning the kitchen from Thanksgiving and am scurrying around getting the halls decked for Christmas all the while promising myself to take time to enjoy the season!

Lydias web cover 

I am also packing orders of Bethlehem Christmas Dinnerware. Visit the website here to see the current specials.

Have a great week!

signatureandsidebar003-001-1

I’ll be sharing with Wow Us Wednesday at Savvy Southern Style and to Metamorphosis Monday at Between Naps On the Porch. Click on the links to get lots of inspiration!