Tuesday, December 4, 2012

The Sunroom Mantle

I usually decorate with all traditional Christmas décor and I still do but took a slight variation with the mantle in the sunroom this year. I am not a neutral kind of girl. I love color. However, I did throw in a neutral vintage chalkboard this year.

sunroom mantle 1

I purchased the faux greenery this year at Hobby Lobby because it is so real looking.I have had everything else for many years.

sunroom mantle 2

The chalkboard also covers an oil painting of my great grandparents house. The painting stays on this mantle all of the time. I usually drape a piece of red toile fabric over the painting and then I just sat the chalkboard in front of it.

sunroom mantle 3

sunroom mantle 5

The pair of cherubs on each end also stay here year round. They were gifts from a dear family friend who has gifted us with wonderful accessories for the past 30 years! One of the cherubs got broken but I glued it back together and I still love it!

sunroom mantle 4

The gold glass ornaments were purchased at the Pottery Barn Outlet many years ago.

sunroom mantle 6

The gold cherub ornaments came from Michael’s many years ago.

You can see my den mantle here.

I’ll be linking to the mantle party at the Lettered Cottage. Click over to see the party!

Also, there’s still time to order Bethlehem Christmas Dinnerware by clicking here.

Don’t forget to savor the season!

Merry Christmas!

signatureandsidebar003-001-1


Christmas Mantle in the Den

I ended my last post by stating that the next post would be a home tour that you don’t want to miss. However, I’m having to interrupt the schedule to join the mantle party. I will get the home tour up soon, and it is one that you don’t want to miss. (Hint, hint, it was in DC!) Now on to the mantle in our den. Several years ago while on another home tour, I saw a lovely nativity set that was made of porcelain and fabric in the Italian style. I set out to find a similar one and made a purchase. This is truly one of my favorite Christmas collectibles. Because I don’t have a sofa table and I only have a small chest in our foyer, I chose to display this set on the mantle of our den. That way, I do get to enjoy it more. The purpose of the dark fabric backdrop is to cover up a portrait of my children. If I don’t cover it up, their little heads peep out over the top of Bethlehem! The portrait is too big to move and store so I just cover it with fabric at Christmas! I’ll let the photos do the rest of the talking.

nativity mantle 1A

nativity mantle 3

nativity mantle 2

Don’t you just love a slightly crooked picture? Funny, that scarf across the bottom that covers some decorative painting on the mantle doesn’t look nearly that wrinkled in real life! Let’s take a closer look.

nativity mantle 4

I love the animals too.

nativity mantle 5

nativity mantle 6

nativity mantle 7

nativity mantle 8

I love the nativity!

Lydias web cover

There’s still plenty of time to order Bethlehem Christmas dinnerware by clicking here. Most orders go out within 24 hours and shipping is affordable and fast!

I hope that you, too, are savoring the season!

Merry Christmas!

signatureandsidebar003-001-1

I’ll be linking to the mantle party at the Lettered Cottage.Click over to enjoy lots of mantle inspiration.

This fireplace backs up to the fireplace in our sunroom and you can see that mantle by clicking here.

I’m linking to Wow Us Wednesday at Savvy Southern Style.

Sunday, December 2, 2012

Savoring the Season–Day One

The Middleburg Hunt Review

I love Christmas! I have promised myself to savor the season this year and I intend to enjoy every moment of it! Since, Thanksgiving came early this year, I was able to get most of my decorating done before December 1 and I chose to take a weekend jaunt to enjoy some Christmas festivities. On December 1, I traveled to Middleburg, Va to see the Hunt Review and the Christmas Parade. Both were delightful.

Middleburg Hunt review 1

Horses and hounds were everywhere!

IMG_6015

IMG_6020

IMG_6039

It was a wonderful treat for spectators and riders both young and old!

I hope that you are enjoying the season too!

signatureandsidebar003-001-1

I’ll be linking to Metamorphosis Monday at Between Naps on the Porch.

Next post: A CHRISTMAS HOME TOUR THAT YOU WILL NOT WANT TO MISS!!!!

Tuesday, November 27, 2012

DIY Sunburst Mirror

In my last post, I shared about my recent update to our guestroom. Previously, I had a collection of vintage hand painted plates hanging above the headboards but decided that I needed something fresh for the re-do.

mirror 1

Since I was in a hurry and had a goal of finishing the room before Thanksgiving, I decided to make my own sunburst mirrors to go above the headboards.

charger from Pier 1

I purchased a wooden charger at Pier 1 to use for the base.I believe that the cost for each one was $14.99. I did put a quick coat of fresh white paint on it before starting since it had a yellowish tint against my freshly painted walls.

bird clock 1

Next, I trekked down to my local Dollar General store and purchased these cute bird clocks with  glass fronts for $4 each!!! It’s a really cute clock but I actually just needed the glass.

bird clock 2

Next, I flipped it over and removed the screws from around the outside edge. The front popped right off and the glass came right out. Then I used my Looking Glass spray paint and a light spray of water to paint the glass. Next, I glued the mirror back to the original gold frame and then glued the gold frame to the white charger. I did not use the clock mechanism.

diy sunburst 1

The spots on the glass were intentional since I was going for a vintage look.

diy sunburst 6 

I considered going around the carved edges with a little Rub N Buff in gold or silver but decided to leave well enough alone.

diy sunburst 4

Pretty results for about $20 each!

twin beds

I have finally finished cleaning the kitchen from Thanksgiving and am scurrying around getting the halls decked for Christmas all the while promising myself to take time to enjoy the season!

Lydias web cover 

I am also packing orders of Bethlehem Christmas Dinnerware. Visit the website here to see the current specials.

Have a great week!

signatureandsidebar003-001-1

I’ll be sharing with Wow Us Wednesday at Savvy Southern Style and to Metamorphosis Monday at Between Naps On the Porch. Click on the links to get lots of inspiration!


Tuesday, November 20, 2012

Updating the Guestroom

I had a wonderful post planned. However, I don’t know anything that ruins a good before and after like losing the before pictures! I know that I took them and I have searched high and low but I cannot find them anywhere! It is so frustrating. You will have to trust me and use your imagination. Imagine a flesh colored room, trim and all with a 90’s floral wallpaper border at the top and bottom of the room. Now add some beautiful floral comforters and pillow shams and plaid bed skirts. I hope you get the picture. It was lovely at the time but severely in need of updating. Last year, on Wednesday before Thanksgiving, I decided to run everything through the washer to knock the dust off. Much to my dismay, the comforters came out in shreds! So, like any woman with a brain in her head, I made a mad dash to TJ Maxx to find a replacement. That was a no go. So I ran to Target. That also was a no go. I ended up purchasing new sheets and white down comforters to get me through the holiday until I had time for an all out redo. Last spring I found some fabric that I liked and sewed the duvet covers and pillow shams during the summer. Having my goal of completion by Thanksgiving, I used a steamer to remove the wallpaper borders last week and painted the room a fresh color, Coconut Milk by Valspar. I also painted the trim white this time. Now, I should be ready for company tomorrow!

guest room 1

The pencil post twin beds were made by a local craftsman and we purchased them about 25 years ago when we built this house.

guestroom 2

It’s hard to get good photos because the bedposts are always in the way!

Braemore Wonderland

The fabric that I chose is by Braemore. The pattern is Wonderland and the color is Pearl. It has a lot of texture to it that I like.

braemore wonderland 2

It has a lot of color and coordinates well with the blue carpet that was already in the room and still in very good condition.

bedside table

I tried to keep the bedside table uncluttered so that guests would have room for their phones, etc..

water pitcher

A small water pitcher sits on a vintage silver tray.
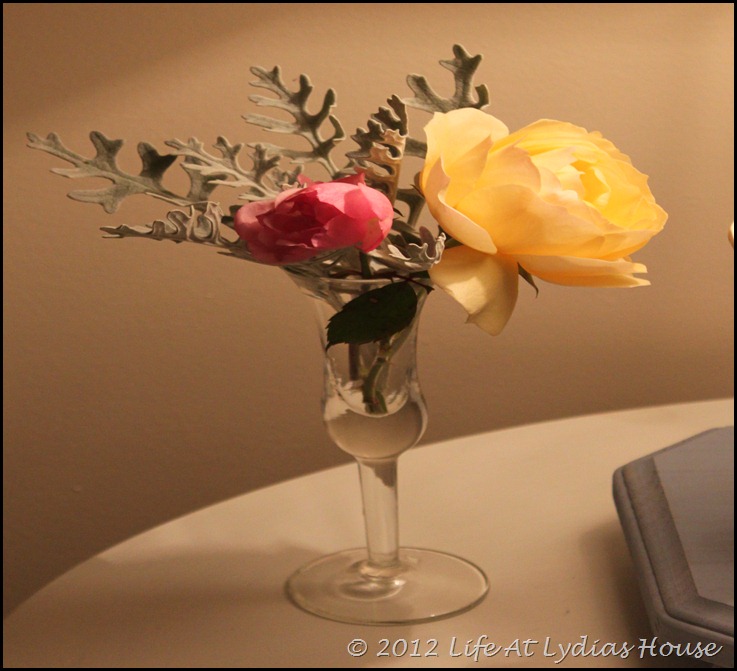
bedside bouquet

A few fresh blooms cut from the garden are always a welcoming touch.

rabbit lamp 1

I made this little lamp from a pitcher from my rabbit collection a number of years ago.
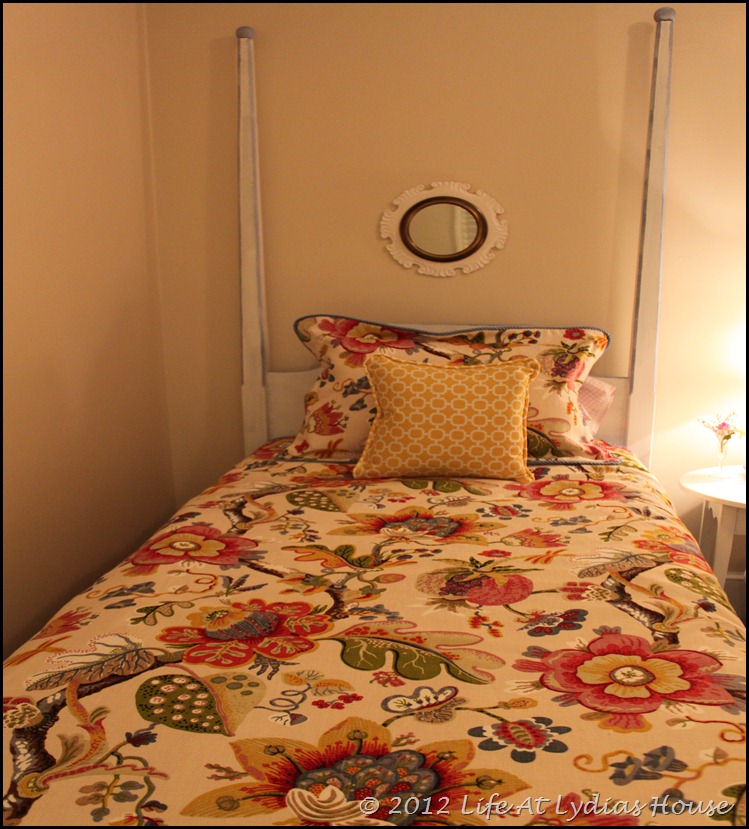
mirror 1

I found the yellow pillows at Stein Mart and used them for a little contrast.
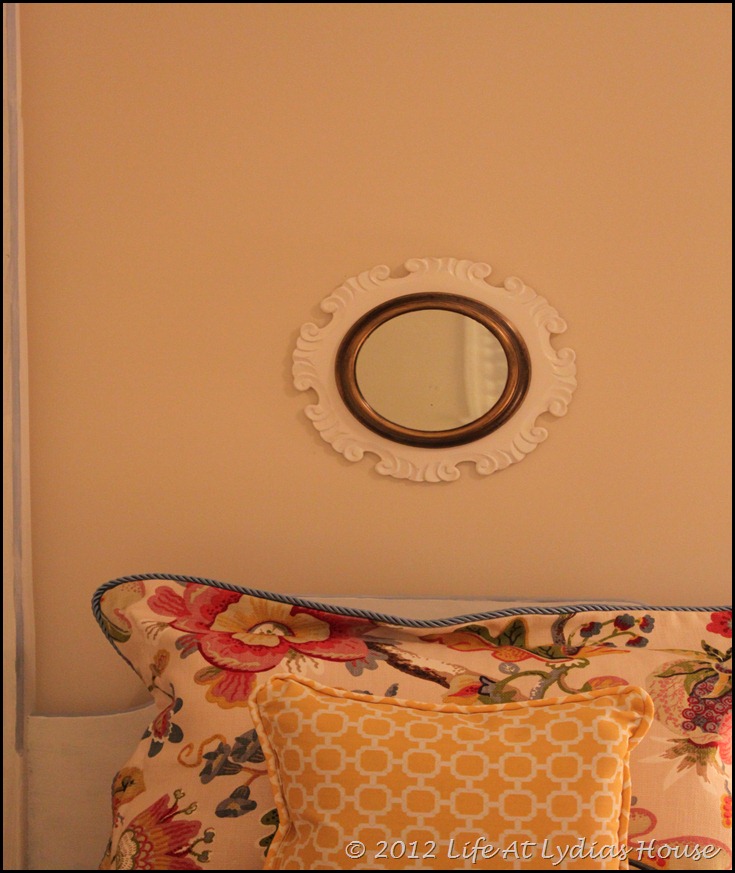
mirror 2

Previously, I had a collection of hand painted floral plates hanging above the headboards, but they didn’t flow well with the new fabric so I made these mirrors for a little interest. I’ll do another post on how I made them.

sitting area

There is a small sitting area with a comfy chair and another rabbit lamp.

rabbit lamp 2

I purchased this lamp in New Orleans about 25 years ago. It sat in our den for many years. It survived 5 children and only sustained one broken ear which has been glued back on. He’s almost like the Velveteen Rabbit so I can’t part with him now!

cabbage patch doll

My original Cabbage Patch doll also lives in this room in an antique wicker stroller.

Grace painting

This oil painting is one of my favorite treasures. It hangs on the wall as you enter the room. My Aunt Grace painted it for my grandmother in 1968. The picture does not do it justice.

guestroom 3

A year after I started, I’m checking this off my list!

On another note, there is a Thanksgiving sale going on at Bethlehem Christmas. Now is a great time for Christmas shopping.

Lydias web cover

I hope that you have a wonderful Thanksgiving!

I’ll be linking to Wow Us Wednesday at Savvy Southern Style and to Metamorphosis Monday at Between Naps on the Porch.

I’m also linking to Tips, Tidbits, and Tutorials at Stone Gable.

signatureandsidebar003-001-1


Wednesday, November 14, 2012

Transforming a Thrifted Silver Tray

I recently ran across a silver plated tray for $5. I know, I have silver out the wazoo and could live the rest of my life without purchasing any more silver. But, I decided this one was too good to pass up and, I didn’t have one exactly like this. So, I plopped down my $5 and brought it home. Then I went to my go-to miracle worker. One swipe and I knew that I had made the right decision.

IMG_5867

Can you believe the difference with one swipe? I used my Wenol metal polish.

l r table feet before 1

You can read about how I used it on these brass table feet here. It is very easy to use and I am always pleased with my results.

IMG_5868

I had to take the picture from an angle to keep it from looking like a mirror! It turned out beautifully! I decided to put it to use as a coffee station.

IMG_5920

That may not be its permanent home, but for now I’m loving it there. I hope that your holiday preparations are coming along as well as mine are.

signatureandsidebar003-001-1

I’ll be linking to Metamorphosis Monday at Between Naps on the Porch and to Wow Us Wednesday at Savvy Southern Style.  I’ll be sharing at Tutorials, Tips, and Tidbits at Stone Gable. Click over to see lots of inspiration!

On another note, Bethlehem Christmas Dinnerware is on sale at great prices for Thanksgiving week in appreciation of great customers. Click here to go directly to the website. All pieces are in stock and we have very quick shipping, so now is a great time to do a little Christmas gift shopping!